
이 글은 크몽 재능인, socurites님이 원고를 기고하셨습니다.
이번에는 부트스트랩(bootstrap) 맛보기다. 일단 사이트 대문에서 아래와 같이 설명한다.
부트스트랩 : 세련되고 직관적이며 강력한 프론트엔드 프레임워크로, 빠르고 쉽게 웹 개발을 할 수 있도록 돕는다.
(BootStrap : Sleek, intuitive, and powerful front-end framework for faster and easier web development.)
bootstrap의 장점은 하나의 코드로 웹 화면과 모바일 화면 모두를 지원한다는 점이다. 일단 bootstrap 사이트에서, 최신 버전을 다운로드하자.
파일 구조
bootstrap 파일을 다운로드한 후, 압축을 풀면 아래와 같은 디렉토리 구조를 가진다.
./
├── css/
│ ├── bootstrap-responsive.css
│ ├── bootstrap-responsive.min.css
│ ├── bootstrap.css
│ └── bootstrap.min.css
├── img/
│ ├── glyphicons-halflings-white.png
│ └── glyphicons-halflings.png
└── js/
├── bootstrap.js
└── bootstrap.min.js
부트스트랩은 jQuery를 필요로 한다. 아무래도 jQuery 기반의 플러그인으로 볼 수 있을 듯 하다.
구성 요소
제공하는 구성 요소는 다음과 같다고 하는데, 별거는 없어 보인다.
- 스카폴드(Scaffold)
body에서 타입, 배경, 링크 스타일, 그리드 시스템, 2개의 간단한 레이아웃을 재설정하기 위한 글로벌 스타일 - CSS
글자체, 코드, 테이블, 폼, 버튼 등 공통적인 HTML 요소를 위한 스타일. 작고 멋진 아이콘 집합인 Glyphicons를 포함 - 컴포넌트
탭, 필(pill, 모서리가 둥근 사각형), 네비게이션 바, alert, 페이지 헤더 등 공통 인터페이스 컴포넌트를 위한 기본 스타일 - 자바스크립트 플러그인
자바스크립트 플러그인은 컴포넌트와 비슷하지만, 툴팁, 팝업, 모달 등과 같은 인터랙티브 컴포넌트(interactive component)
기본 아이콘 집합인 Glyphcions보다는 font-awesome을 사용하기 바란다.
부트스트랩을 사용하기 위한 HTML 템플릿 만들기
일단 아래와 같은 Hello World HTML 파일을 만들자. jQuery가 반드시 필요하다.
<!DOCTYPE html>
<html>
    <head>
        <title>Bootstrap 101 Template</title>
        <meta name="viewport" content="width=device-width, initial-scale=1.0">
    </head>
    <body>
        <h1>Hello, World!</h1>
        <script src="http://code.jquery.com/jquery.js"></script>
    </body>
</html>
이제 이 파일을 부트스트랩 템플릿으로 만들어 보자. 다운로드 받은 bootstrap 파일들을 적당한 위치에 위치시킨다. 아래는 내가 사용중인 Aptana Studio의 bootstrap-test 프로젝트 디렉토리 구조다.

hello.html 파일에 리소스 파일인 자바스크립트와 CSS 파일을 포함한다.
<!DOCTYPE html>
<html>
    <head>
        <title>Bootstrap 101 Template</title>
        <meta name="viewport" content="width=device-width, initial-scale=1.0">
        <link href="css/bootstrap.min.css" rel="stylesheet" media="screen">
    </head>
    <body>
        <h1>Hello, World!</h1>
        <script src="http://code.jquery.com/jquery.js"></script>
        <script src="js/bootstrap.min.js"></script>
    </body>
</html>
이제 부트스트랩을 사용할 준비는 끝났다.
부트스트랩 쉽게 개발하기
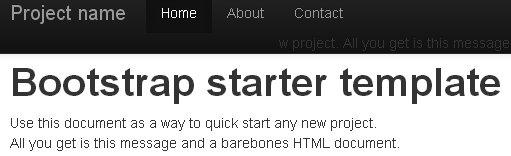
http://bootply.com 로 접속하자. 샘플과 템플릿 등을 작성해서 바로바로 실행해볼 수 있다. 아래는 Bootstrap Starter Template을 사용한 hello.html 파일이다.
<!DOCTYPE html>
<html>
<head>
    <title>Bootstrap 101 Template</title>
    <meta name="viewport" content="width=device-width, initial-scale=1.0">
    <link href="css/bootstrap.min.css" rel="stylesheet" media="screen">
    <style>
    body {
        padding-top: 60px; /* 60px to make the container go all the way to the bottom of the topbar */
    }
    </style>
</head>
<body>
    <div class="navbar navbar-inverse navbar-fixed-top">
        <div class="navbar-inner">
            <div class="container">
                <button type="button" class="btn btn-navbar" data-toggle="collapse" data-target=".nav-collapse">
                    <span class="icon-bar"></span>
                    <span class="icon-bar"></span>
                    <span class="icon-bar"></span>
                </button>
                <a class="brand" href="#">Project name</a>
                <div class="nav-collapse collapse">
                    <ul class="nav">
                        <li class="active">
                            <a href="#">Home</a>
                        </li>
                        <li>
                            <a href="#about">About</a>
                        </li>
                        <li>
                            <a href="#contact">Contact</a>w project.
                            All you get is this message and a barebones HTML
                        </li>
                    </ul>
                </div><!--/.nav-collapse -->
            </div>
        </div>
    </div>
    <div class="container">
        <h1>Bootstrap starter template</h1>
        <p>
            Use this document as a way to quick start any new project.
            <br>
            All you get is this message and a barebones HTML document.
        </p>
    </div>
    <!-- /container -->
    <script src="http://code.jquery.com/jquery.js"></script>
    <script src="js/bootstrap.min.js"></script>
</body>
</html>
아래와 같이 큰 수고를 들이지 않고도 꽤 이쁜 화면을 만들 수 있다.
부트스트랩 유용한 사이트
부트스트랩을 날 것 그대로 사용하기보다는 이미 만들어진 테마(theme)을 사용하는 편이 낫다. 유료가 좀더 멋들어지긴 하지만, 무료도 꽤 많이 있으니 관심을 가지고 살펴보기를 바란다.
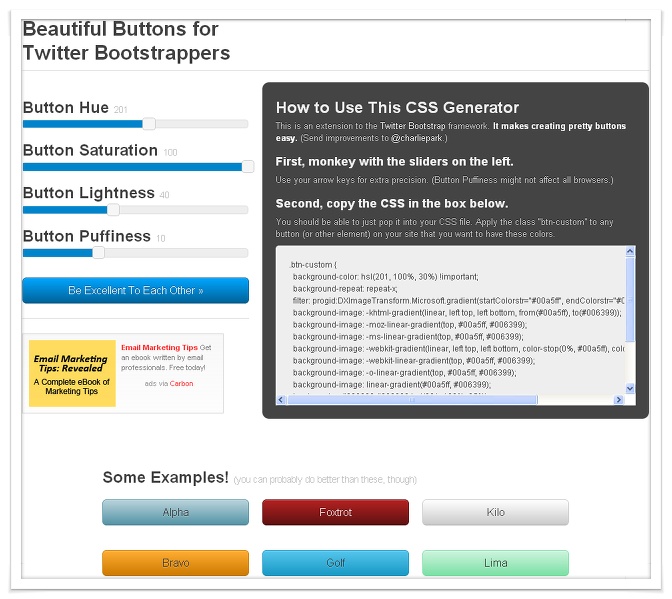
Beautiful Buttons for Twitter Bootstrappers
http://charliepark.org/bootstrap_buttons/
부트스트랩이 제공하는 7가지 기본 버튼 색상 이외의 다른 색상으로 바꿀 수 있는 CSS 생성기를 지원
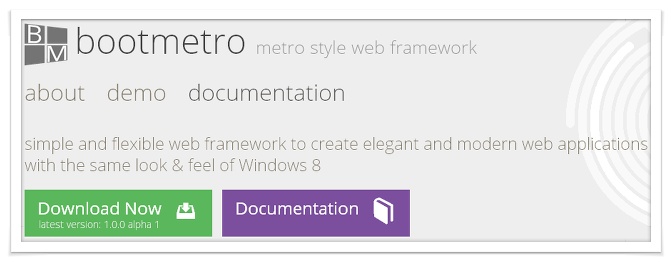
Bootmetro
http://aozora.github.com/bootmetro
부트스트랩 테마 제공
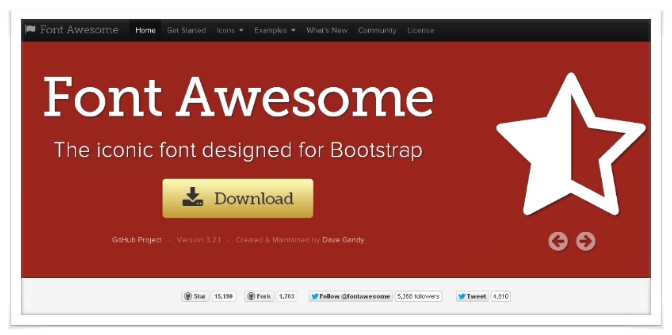
Font Awesome
http://fortawesome.github.io/Font-Awesome/
부트스트랩에 포함된 아이콘은 Glyphicons에서 제조한 아이콘으로, png 파일이다. 따라서 크기나 색상 변경이 쉽지 않다. Font Awesome 사이트에서는 말그대로 기가믹힌 폰트 형식의 아이콘을 무료로 제공하며, 폰트 아이콘은 크기와 색상 변경이 더 자유롭다.
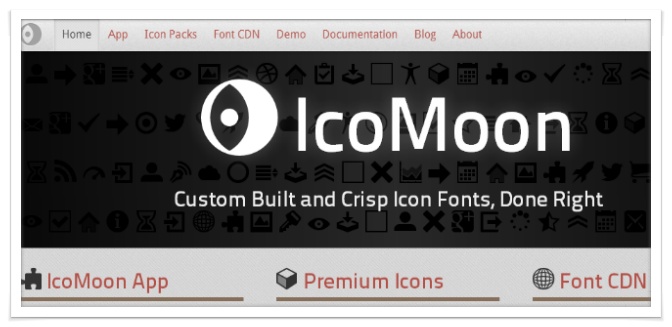
IcoMoon
폰트 아이콘을 커스트마이징하여 사용할 수 있다. 무료는 아니다. “트위트 부트스트랩/위키북스”의 저자인 김덕기님의 블로그에서 사용법을 살펴볼 수 있다.
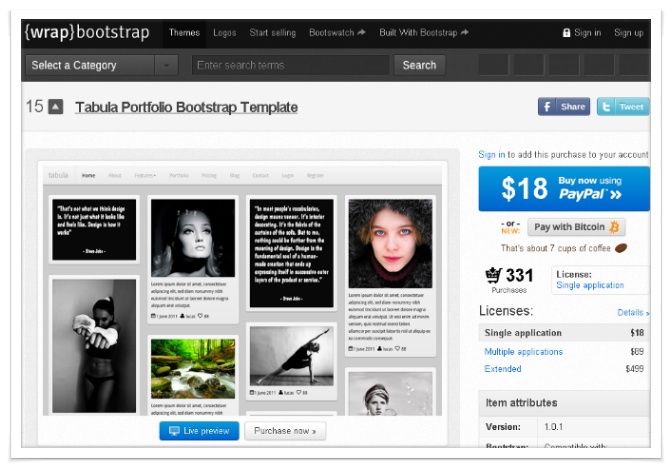
{wrap]bootstrap
부트스트랩으로 만든 테마를 판매한다. 유료이지만, 싼 가격에 꽤 수준 높게 디자인 된 웹 사이트를 만들 수 있다.
